Help Center
Images
Incorporating images into a design may seem simple, but there are common mistakes that can negatively impact the resulting print. Based on our experience printing millions of t-shirts, hoodies, and other pieces of apparel, we recommend the following to get the most out of your images:
Use High-Quality Images
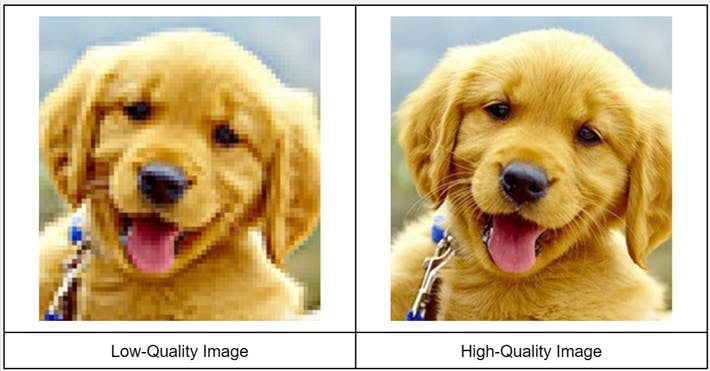
The use of low-quality images is among the most common problems with customer-submitted images. This means that the image does not contain enough detail, which results in poor print quality. We recommend
- At Least 200 DPI (300 DPI Is Better)
- Full Size
For example, a typical center chest design is 9” wide x 7” high. So the image should be 9” x 7” with a resolution of 200 DPI.
If you’re interested in learning more about the standard sizes for different logo placements, check out our Logo Placement Guide.
Crop Images
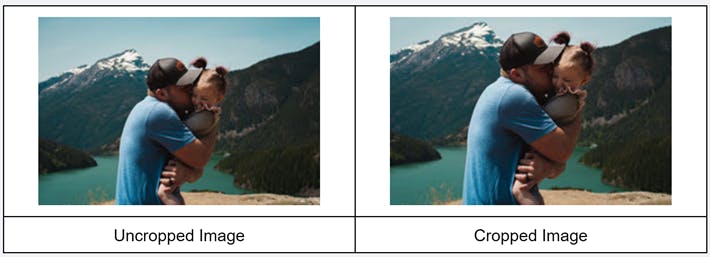
Images often include elements that are not critical and distract focus from the main subject. Reducing the size by cropping the image places emphasis on the subject.
Adjust The Image
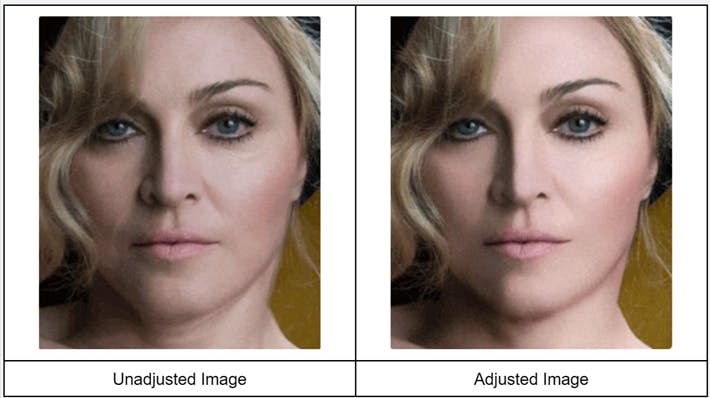
Images often have minor imperfections like scratches, spots, shadows, or other defects that may negatively impact the printed design. As a result, we recommend adjusting the image to eliminate those imperfections to get the best print possible.
Size the Image
Image size should be relative to the garment, otherwise, it may overwhelm smaller garments. Therefore the image must be scaled to ensure a consistent appearance.
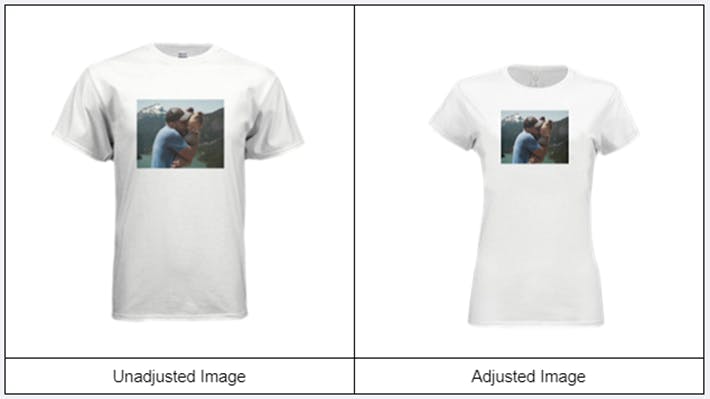
Not sure how to do this? We can make this design adjustment on request.
Use a Standard Image File Format
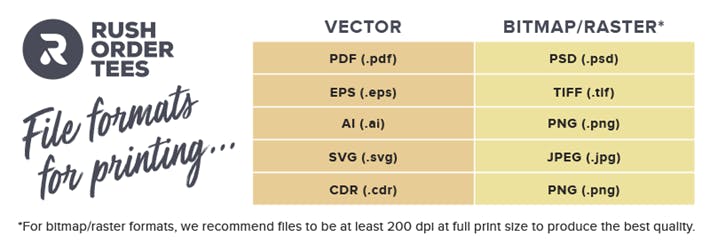
There’s a broad range of image file formats and RushOrderTees’ Design Team can use practically every one. However some produce better results, so we recommend using the following:
